Your first LLM API call on Groq's free tier
Make your first LLM API call in about ten minutes on Groq's free tier. Step-by-step tutorial with curl and Python, API key setup, and common error fixes.
An LLM API call is the hello world of modern AI, and it is still the fastest way to understand what these models really are. A chat window is something you visit. A model that answers inside your own code is something you can build with.
This guide walks you through your first LLM API call in about ten minutes on Groq's free tier. I set up a fresh account and captured every step while writing it, so the screenshots show exactly what you will see. All you need is an email address. Python helps for the second half, but even that is optional.
One thing to clear up before we start, because the names trip everyone up. Groq is not Grok. Grok is the chatbot from xAI. Groq is a company that runs open AI models on chips built for speed. Similar names, completely different things.
Here is the plan:
- Create a free Groq account
- Generate an API key
- Make your first LLM API call with curl
- Make the call from Python
- Try other models
Why Groq for your first LLM API call
Three reasons, and price is only the first. Groq's free tier is a standing offer, not a trial. There is no card on file and no countdown clock, so nothing can surprise you later.
Speed is the second. Groq builds its own inference chips, and answers come back fast enough that the whole loop feels alive. For a first call, that instant feedback matters more than you would think.
The third reason pays off the longest. Groq's API copies OpenAI's request format, and so does much of the industry. Everything you learn here transfers almost anywhere you go next.
Step 1: create your free Groq account
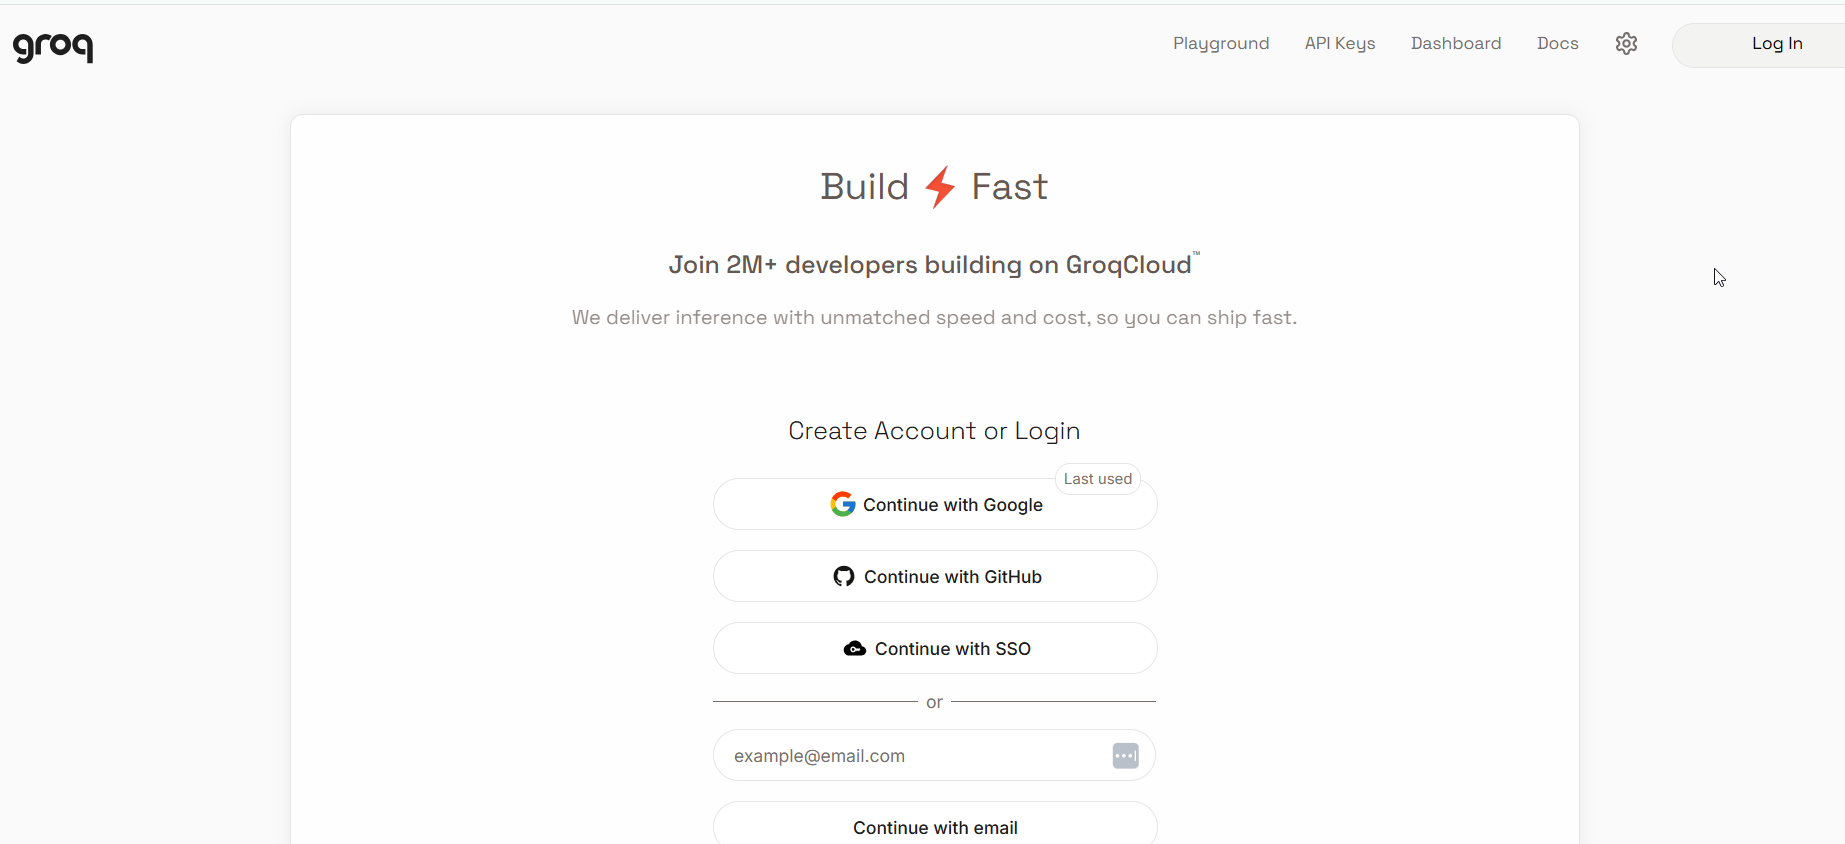
Go to console.groq.com and sign in with your Google account, GitHub, or a plain email address. There is no payment step. No card, no trial countdown, nothing to cancel later.
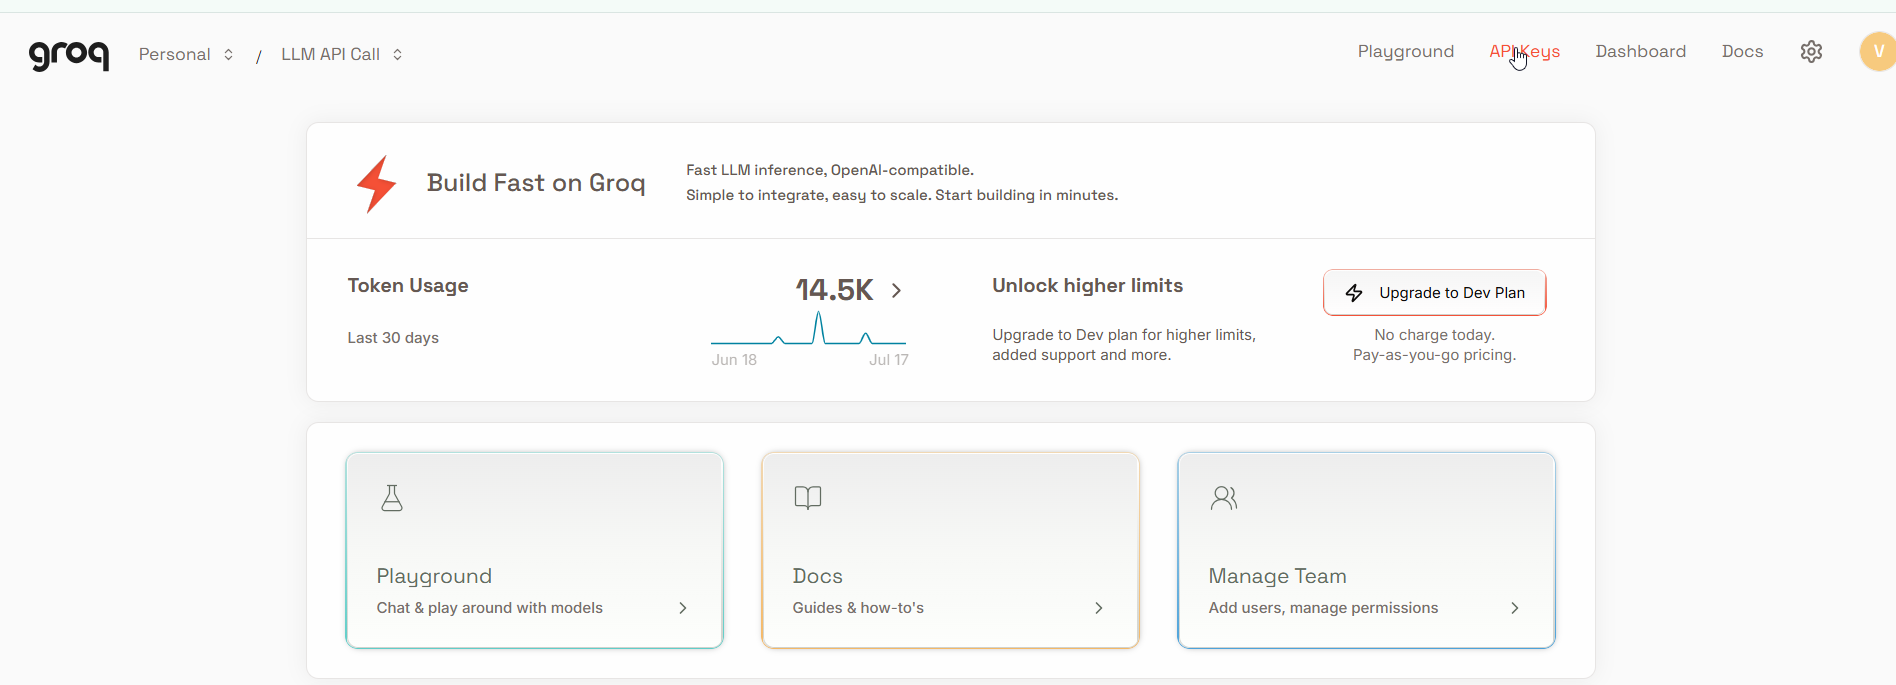
After signing in, you land in the Groq console. This is home base. The playground lets you chat with models right in the browser, and the token usage chart starts counting from your very first request. Mine reads 14.5K tokens for the last 30 days, all of it from writing this tutorial.
Step 2: create your API key
An API key is a password for your code. It tells Groq that a request came from you and counts the usage against your account.
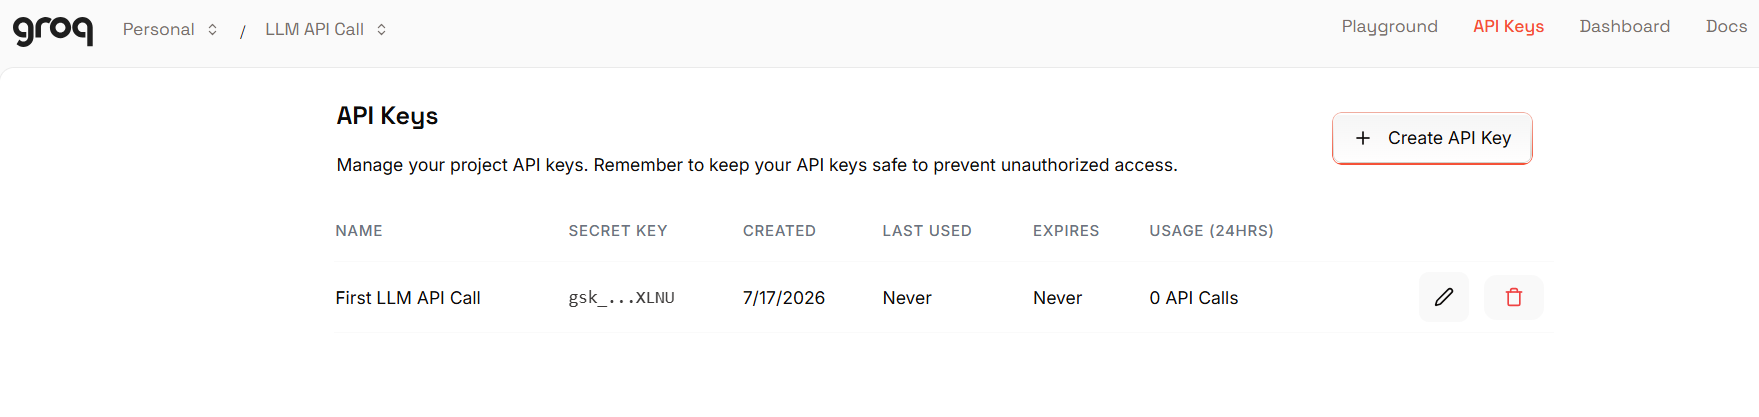
In the console, open the API Keys tab. A fresh account has none.
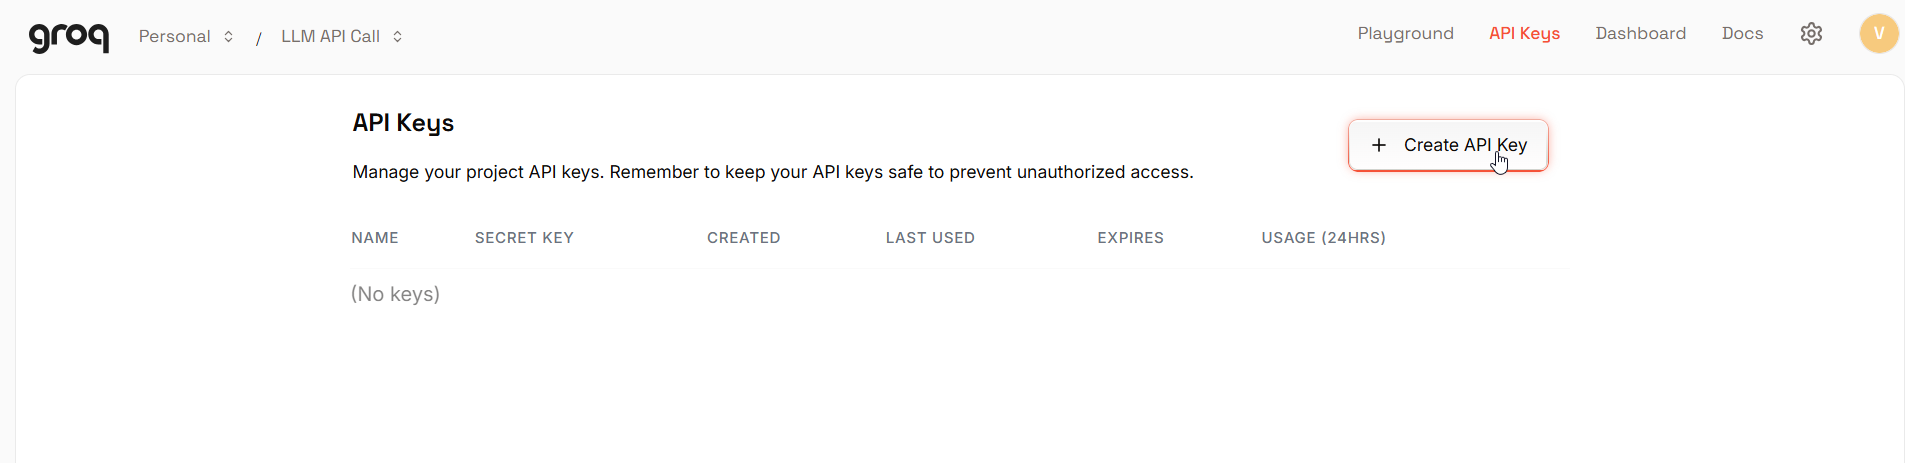
Click Create API Key and give it a name you will recognize later. I named mine First LLM API Call, after this tutorial. Name keys for the thing that uses them. Once there are twelve of these, test-key-2 is how leaks go unnoticed. The dialog also offers an expiration date; for a learning key, no expiration is fine.
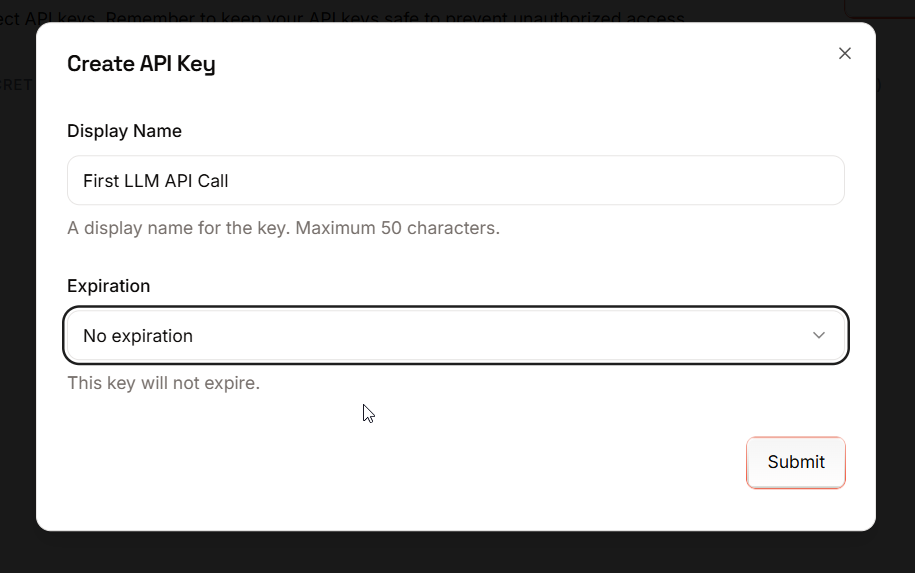
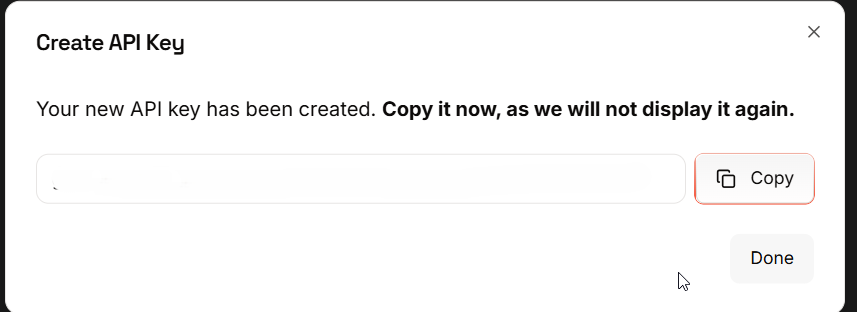
Copy the key the moment it appears. Groq shows it in full exactly once. Paste it somewhere safe for now.
Back on the API Keys page, the console now lists your key with everything but the tail masked. If you closed the dialog without copying, there is no way to see the key again. Delete it and create a new one; they are free.
Two rules about keys, and I mean both of them:
- Never paste a key directly into a code file.
- Never commit a key to Git. If a key ever lands in a repository, treat it as leaked. Delete it in the console and create a new one.
We will handle the key the safe way in step 4.
Step 3: your first LLM API call with curl
curl is a small tool for making web requests from your terminal. It is already installed on Mac and Linux. On Windows, the smoothest option is Git Bash, which comes free with Git. PowerShell treats curl a little differently, so Git Bash saves you a headache.
Replace YOUR_KEY_HERE with your key and run this. Typing the key in your own terminal for a one-time test is fine; the no-key rule from step 2 is about code files.
curl https://api.groq.com/openai/v1/chat/completions \
  -H "Content-Type: application/json" \
  -H "Authorization: Bearer YOUR_KEY_HERE" \
  -d '{
    "model": "llama-3.3-70b-versatile",
    "messages": [
      { "role": "user", "content": "Explain what an API is in one short sentence." }
    ]
  }'
A wall of JSON comes back in about a second. That wall is your first AI response over an API. Trimmed to the parts that matter, it looks like this:
{
  "model": "llama-3.3-70b-versatile",
  "choices": [
    {
      "message": {
        "role": "assistant",
        "content": "An API is a set of rules that lets one program request data or actions from another program."
      },
      "finish_reason": "stop"
    }
  ],
  "usage": {
    "prompt_tokens": 46,
    "completion_tokens": 20,
    "total_tokens": 66
  }
}
The answer lives in choices[0].message.content. Everything else is packaging: the model name, timing, token counts. One piece of that packaging deserves a bookmark, though. The usage block counts the tokens you spent. Tokens are the unit every LLM cost model is built on, and these numbers roll up into the usage chart from step 1.
Two parts of the request will follow you everywhere:
modelpicks which AI answers you.messagesis the conversation so far. Each message has arole(you are theuser) andcontent(what you said).
That is the whole shape of a chat completion. Groq copied OpenAI's format on purpose, so this exact structure will greet you at almost every LLM API you touch next.
Step 4: the call from Python
The terminal is fine for a test. Real projects live in code. Install two small packages (Python 3.8 or newer):
pip install groq python-dotenvCreate a file named .env in your project folder. This file holds your key so your code does not have to:
GROQ_API_KEY=your_key_hereIf you use Git, add .env to your .gitignore right now, before you forget.
Then create first_call.py. This is the exact code I ran while putting this tutorial together, comments and all. This time the model is openai/gpt-oss-120b, OpenAI's open weight GPT model, which Groq also hosts on the free tier:
# first_call.py - your first LLM API call (GPT-OSS on Groq, free)

from dotenv import load_dotenv
from groq import Groq

load_dotenv()  # reads GROQ_API_KEY from your .env file

client = Groq()

response = client.chat.completions.create(
    model="openai/gpt-oss-120b",  # OpenAI's open weight GPT model, free on Groq
    messages=[
        {"role": "user", "content": "What is loop engineering in prompt engineering? Keep it brief in one sentence."}
    ],
)

print(response.choices[0].message.content)
Run it:
python first_call.pyHere is that code running in my editor. I pasted it into a Jupyter notebook cell in VS Code, which is a comfortable way to try an API one cell at a time:
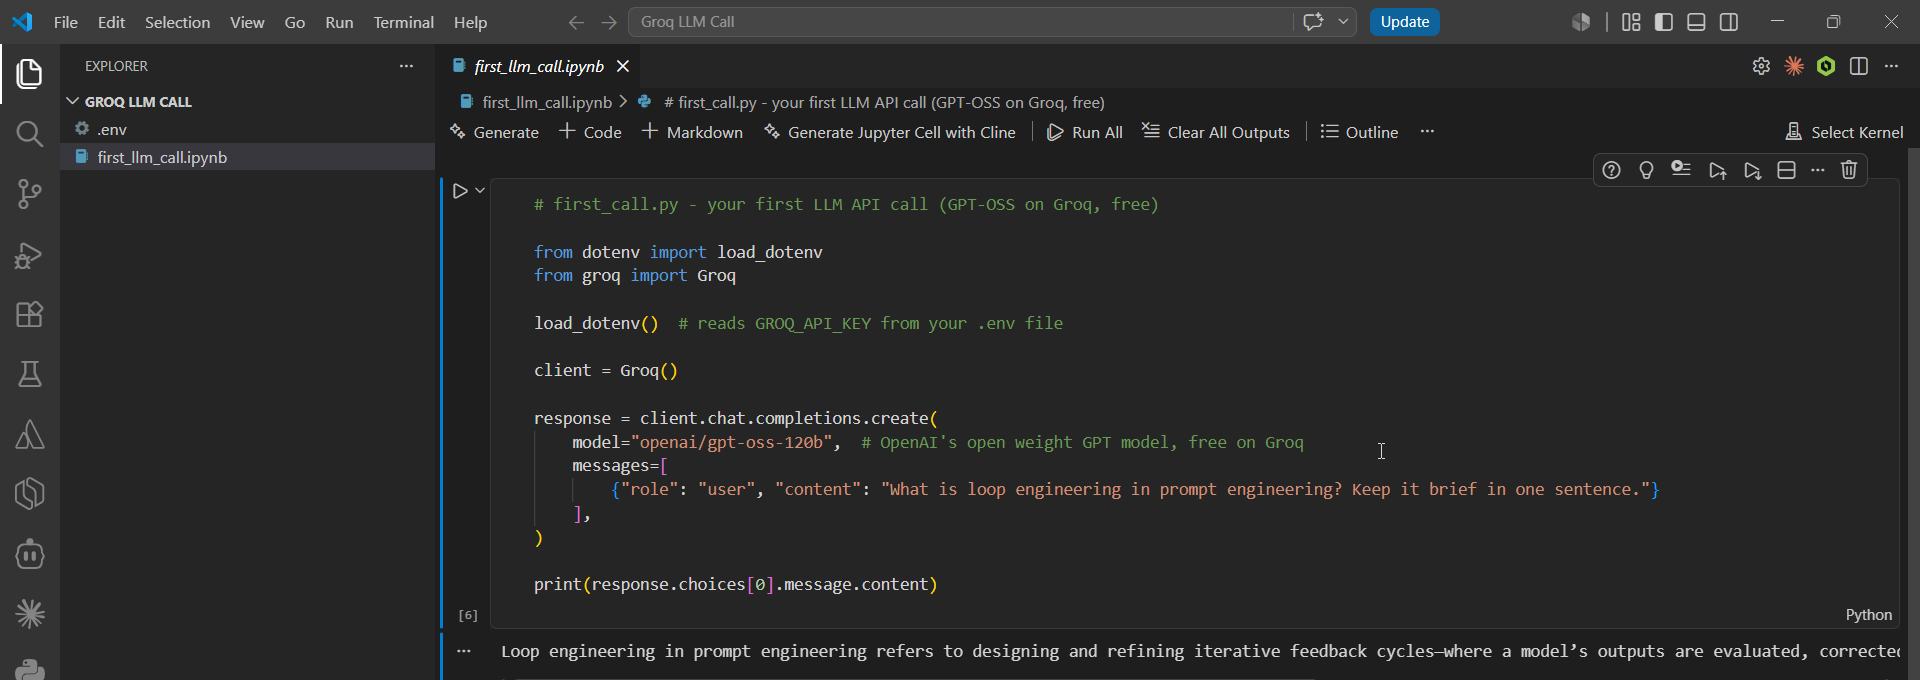
The model answered in one sentence, describing loop engineering as the practice of building iterative feedback cycles, where a model's outputs are evaluated, corrected, and fed back into later prompts to improve the results.
Notice what you did not do. You never typed the key into the script. load_dotenv reads the .env file, and the Groq client finds GROQ_API_KEY on its own. This is the habit that keeps keys out of leaked repositories, and now you have it from day one.
Step 5: try other models
One key opens every model Groq hosts: Llama models, OpenAI's open weight gpt-oss models, and more. You already used one of each. The curl call ran Llama, and the Python script ran gpt-oss. Switching means changing one line:
model="llama-3.3-70b-versatile",Model names retire as new versions arrive, so trust the console's Models page over any blog post, including this one. You can also ask the API itself for the current list:
curl -s https://api.groq.com/openai/v1/models \
  -H "Authorization: Bearer YOUR_KEY_HERE"
When the call does not work
Three errors cover almost every first-day problem with a Groq API call:
- 401 Unauthorized means the key is wrong or missing. Check for extra spaces from when you pasted it.
- 429 Too Many Requests means you are sending requests faster than the free tier allows. Wait a minute and try again.
- Model not found means the model name has been retired. Check the Models page and update that one line.
What you have now
You created a key, made a raw LLM API call from the terminal, and then made a call from Python without ever exposing that key. This is the foundation under every AI feature you have used. Chatbots, summarizers, agents: all of them start with this exact request and response.
From here you can play with settings like temperature, feed the model your own data, or wire it into the software you already run at work.
If you got your first response today, that is a win. Save the script. You will build on it.
Groq · LLM · API
Vasu Kasipuri
NetSuite Architect building production-grade agentic AI for enterprise finance, with 12+ years automating ERP and revenue at scale.